What Made This Part Difficult?
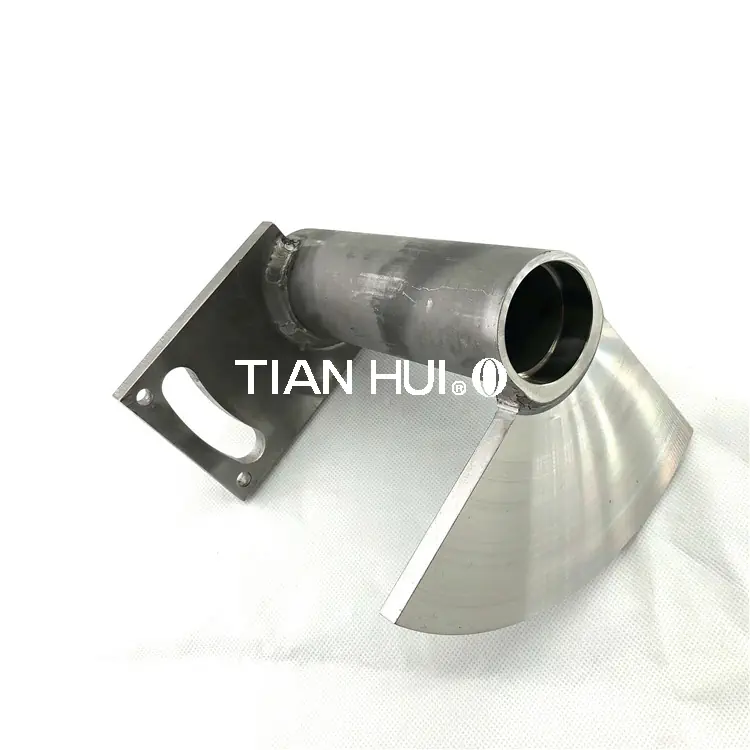
Thin-wall 304 stainless steel can move significantly during welding. The manufacturing challenge was controlling heat input, fit-up and fixture restraint so the closing lock retained its required alignment and functional geometry after welding while meeting the customer's qualified welding requirements.
How the Component Was Taken From Requirement to Finished Part
This section documents the decisions specific to this component: route selection, machining or secondary operations, critical interfaces and control points. General process capabilities are covered on the related Manufacturing pages.
Project Background
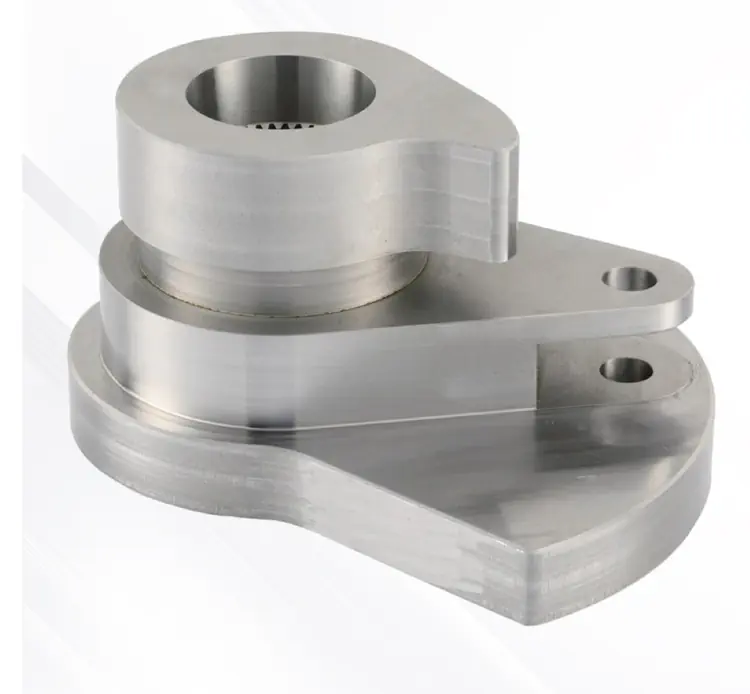
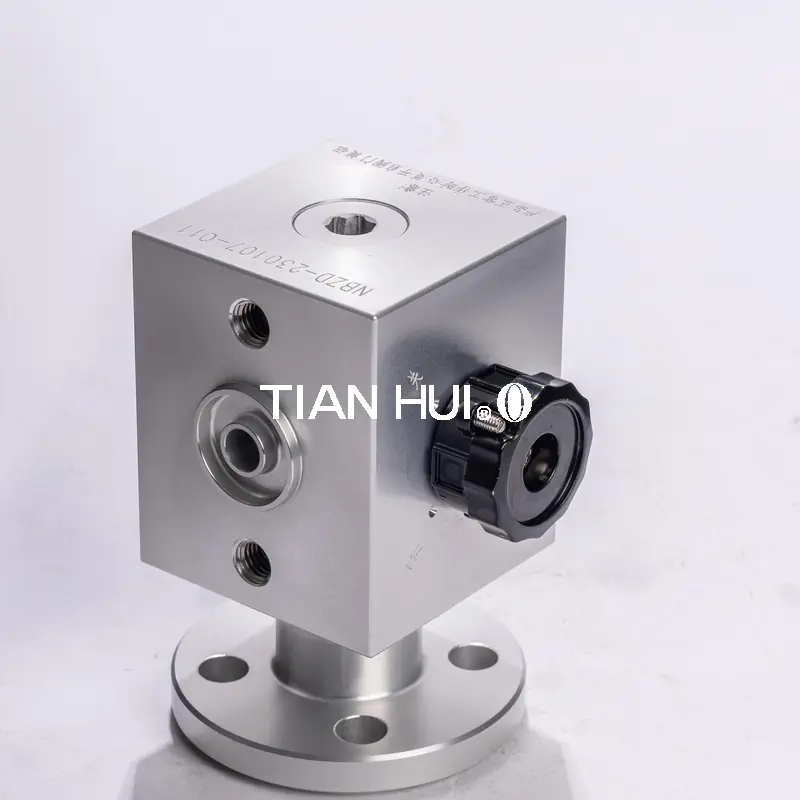
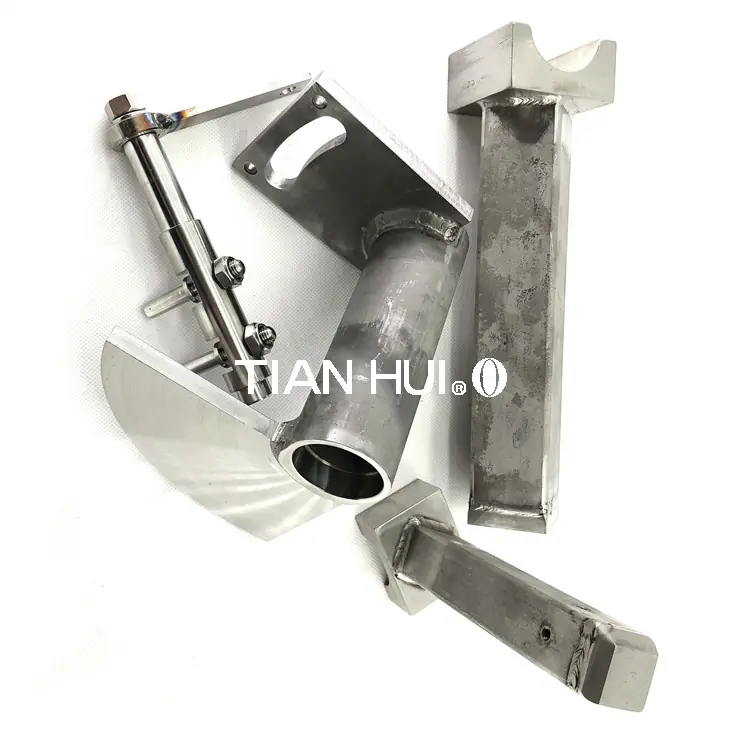
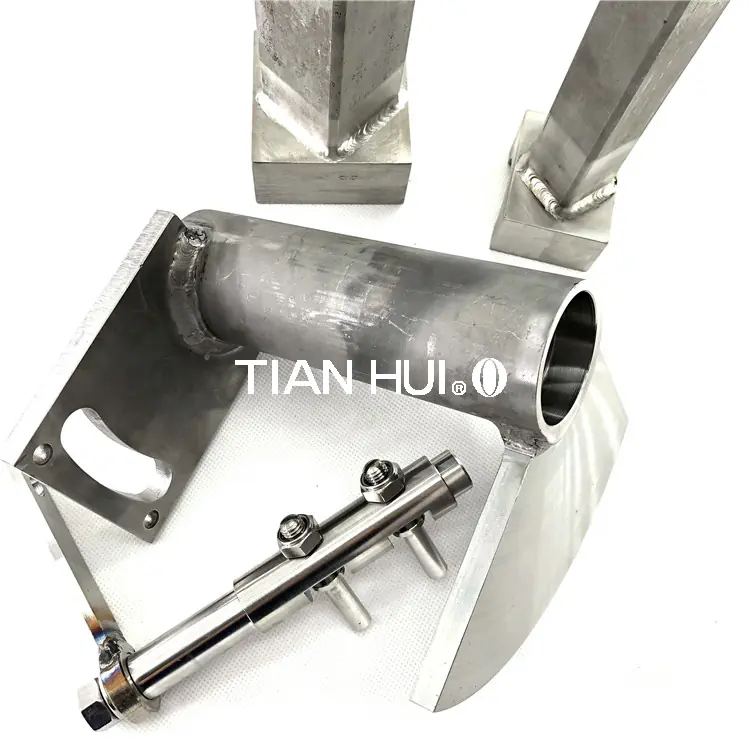
This closing lock is a 304 stainless steel welded component used in an industrial high-voltage equipment program. The part combines thin-wall stainless geometry with welded joints, making post-weld alignment and dimensional stability more important than the welding operation alone.
Manufacturing Challenge
Managing Heat Input and Distortion in Thin-Wall 304 Stainless Steel
Thin-wall stainless steel responds quickly to welding heat. Local thermal expansion and contraction can pull the assembly out of position, change the closing geometry or create visible weld-quality issues if fit-up and welding sequence are not controlled.
The project therefore required the welding process to be planned around final assembly geometry, with customer-qualified welding requirements incorporated into production control.
Manufacturing Route
1. Part Preparation and Fit-Up
Individual parts were prepared and checked before welding so joint condition, fit-up and assembly position could be controlled before heat was introduced.
2. Fixturing and Welding Sequence
Fixtures were used to support alignment while the welding sequence was arranged to reduce concentrated heat input and uncontrolled movement of the thin-wall structure.
3. Distortion and Geometry Check
Key assembly relationships were checked after welding so any heat-related movement could be identified before final finishing or release.
4. Final Inspection
Final inspection covered dimensional alignment, weld appearance and the finished interfaces defined by the customer. Welding and inspection were performed under the project-specific qualification and documentation requirements.
Project Result
The production route controlled the main risk of the component—welding distortion—while maintaining the geometry required for the closing mechanism. The case demonstrates why thin-wall stainless welding should be treated as a combined fit-up, heat-control, fixturing and inspection problem rather than only as a joining operation.
How Was the Finished-Part Requirement Verified?
Verification is tied to the project characteristics that carry the highest manufacturing risk. Project-specific methods and records that can be disclosed remain in the case content; the structured fields below summarize public dimensional and surface targets when available.
Project Outcome
The welding route controlled thin-wall distortion and maintained the required assembly geometry, supporting customer-qualified welding requirements for the project.
Project Images
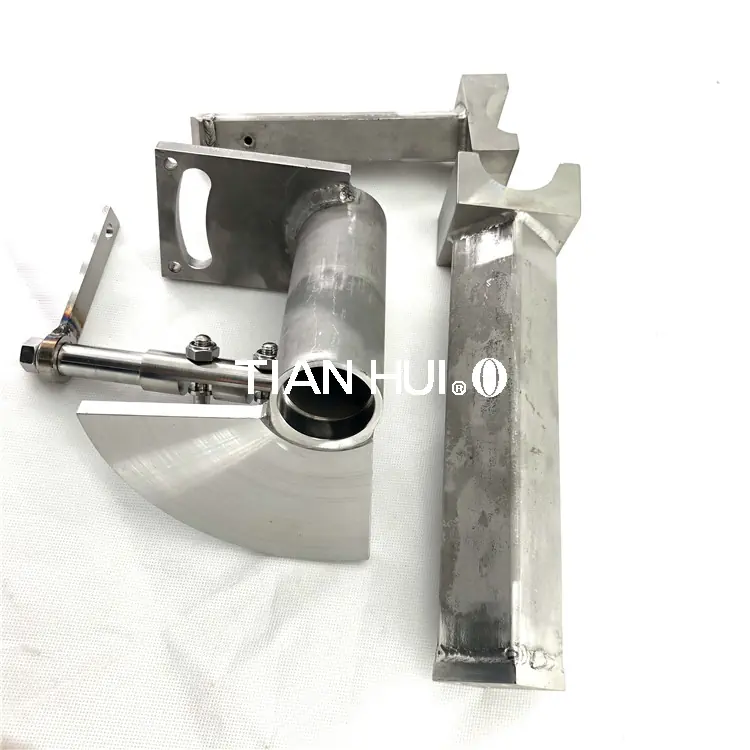
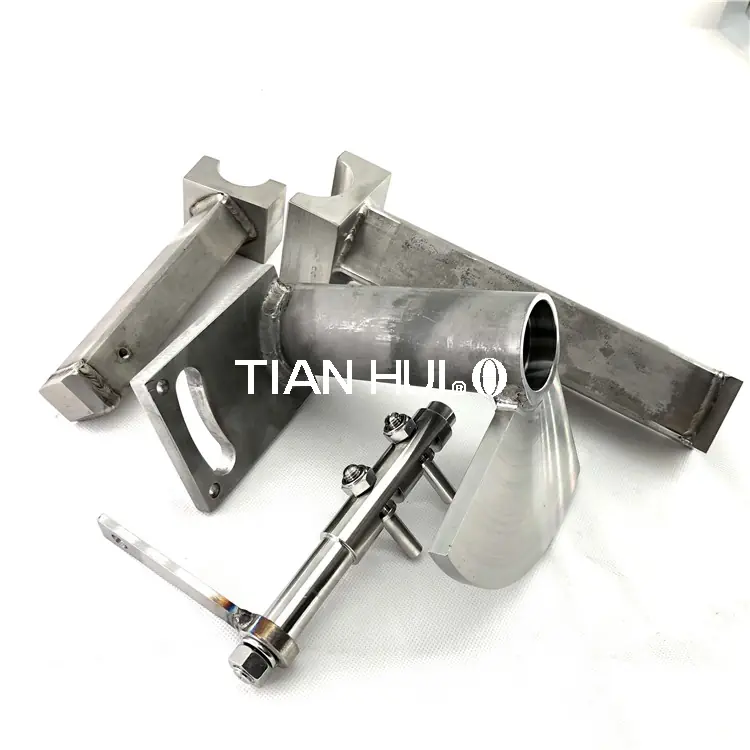
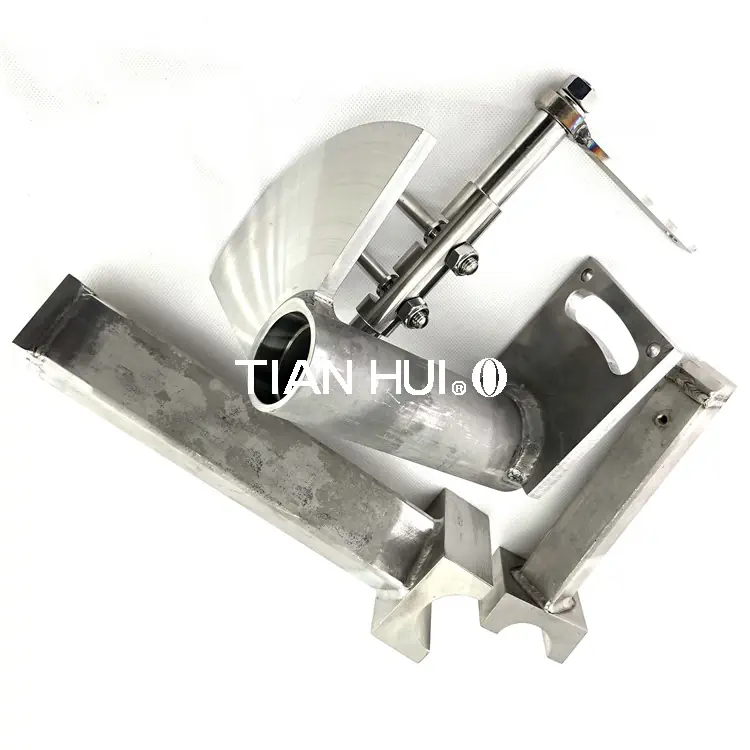
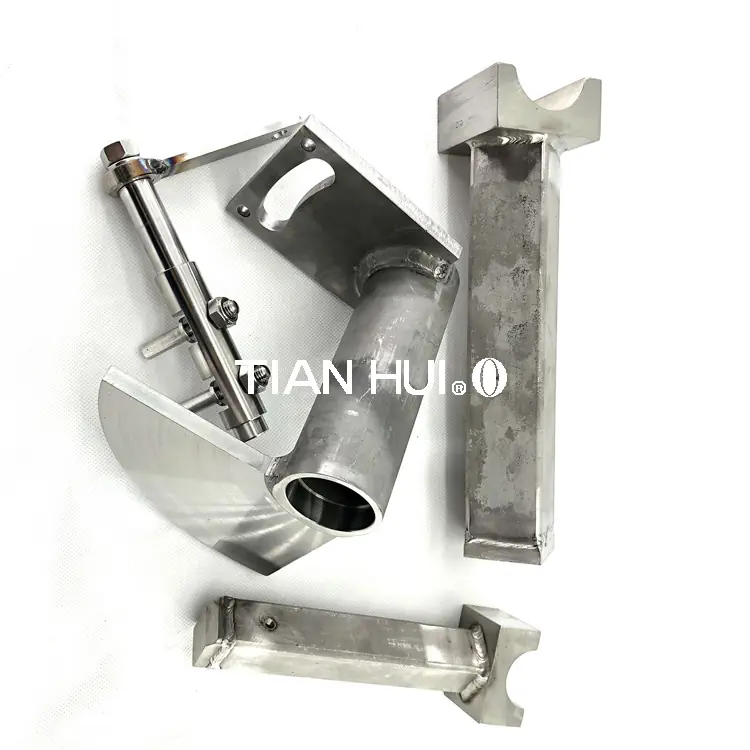
Key Project Considerations
For thin-wall welded stainless assemblies, dimensional control begins before the weld is made. Joint preparation, fit-up, welding sequence, fixture restraint and post-weld inspection must be planned together around the finished assembly.